

Kit Kat Cake
You'll Need:
2 Pre-made 8" round cakes
1 can of frosting
1 tube of frosting in a different color (or you can pipe it)
Food Coloring
11 Kit Kat's (Takes 9.5 to cover the cake, but you want extra in case of breakage)
Large Knife
Cutting Board
1 Family Size Bag of Candy for Topping (M&M's, Jellybeans, raisins, nuts, you be the judge)
Ribbon to wrap
Spider Web
You'll Need:
Cake, Cupcake, Pie...Really anything that can have an added surface
Additional color of frosting, chocolate syrup, again...you be the judge
Spaghetti Noodle (Skewers works great too)
Decor (optional)
Today I'm going to show you two different techniques. One is how to create a spider web, which is so fun! I am asked almost every Halloween how I make my spider webs, and it's soooo easy!
Then there's the big momma...the Kit Kat Cake! This tutorial is sure not to disappoint!!
So lets scroll on down, and get started!
First up? Frosting. You'll need to decide on a color. Since I am going to show you how to do a spider web, I chose grey. OoooOOoo...SpOOky!
Dump your entire can of frosting into a bowl and add food coloring to desired color.
Now for the cake. You'll want to start by stacking your cakes. Here's a refresher on how to do that here. FYI: On this cake, I typically do not level my top cake layer, as I think it gives it more of a bountiful look when it's filled with candy. Did I really just say "bountiful"...
When stacking; Make sure to frost in between the cakes, then on top and around.
 |
| Doesn't have to be perfect. Remember, you're going to cover it up. |
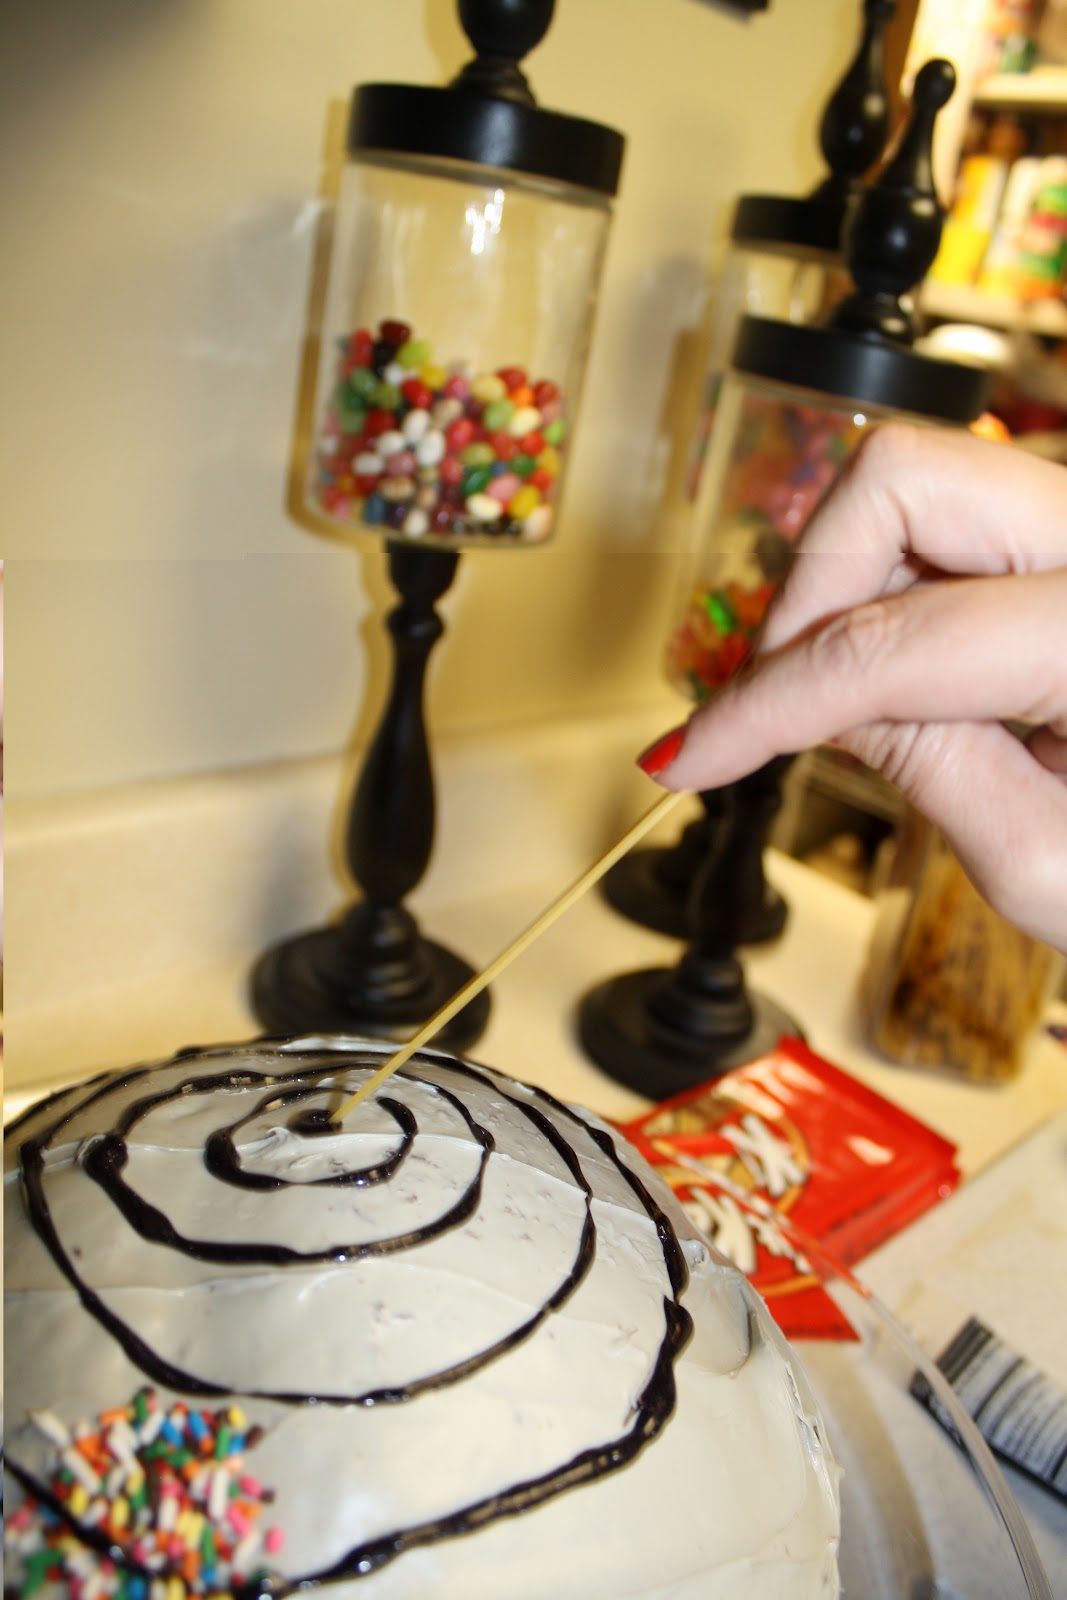
Now it's time for your Spider Web!! Oooh...I'm so excited to share this with you!
Using a different color of frosting, circle around the cake. Starting directly in the middle, creating a bulls-eye, then gradually have the circles outside the bulls-eye become larger as you move closer to the outside of the cake. Like this:
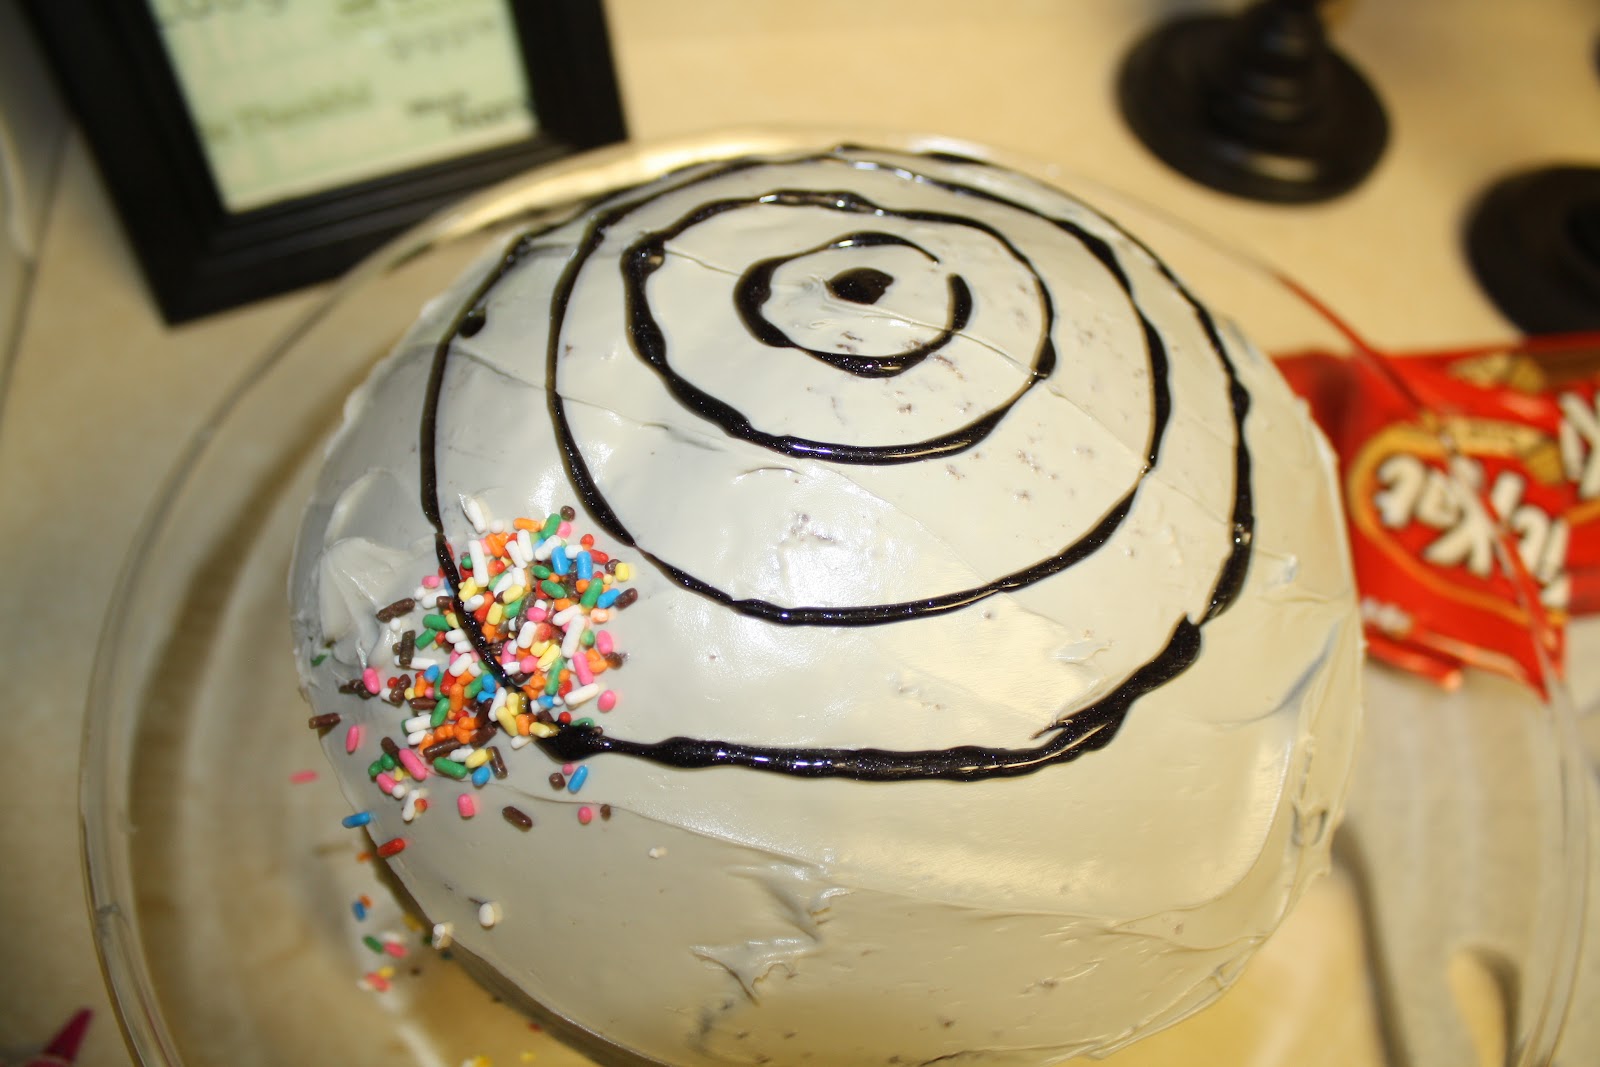 |
| The sprinkles are my daughters addition. What can I say? She's a big helper :) |


 | ||
| She's so cute and sparkly, but she does belong to the girl. Sniff. |

Now for the Kit Kat Cake...
Remove spiders...I'm sure you all need this step, right?! Hehe ;)
Open Kit Kat Package. I find it's best to stick them in the freezer for just a minute or two before cutting, but don't forget about them. The longer they're in the freezer, the more they crumble. While I believe it's best that the chef receive nibbles of chocolatey goodness from time to time, you want to make sure you have enough candy to go around the cake. :)
My rule of thumb, is to stick one bar in while I'm chopping the others (I use king size bars, which come in 3/pkg, so I'm chopping 3 bars @ a time) This is what mine look like:
 |
| 4.5 oz. package has 3 regular size Kit Kat's. |
To prepare Kit Kat's:
On a cutting board, cut down on the "seams" of the Kit Kat's with your knife.
 | |

 |
| OCD #1: See how I have all the Kit Kat's turned the "correct" way. |
 | |
| OCD #2: Once I get a palm-ful around the cake, I always "hug" it with my hand, to make sure it's sticking. |


Enjoy!

No comments:
Post a Comment